Taking a great head shot isn’t as hard as it might look…and smiling isn’t actually necessary.
One of the most typical types of portraits is the head shot. They look flattering, stylish and most importantly, professional. This week I was able to practice taking head shots to learn what makes them great.
To begin my process, I set up my light at a 90% angle, the split lighting effect, from my subject to my camera. I made sure that my subject was comfortable and relaxed next. This is the most important part in my opinion. If your model is uncomfortable you can tell in the photos and you wont have anything worth using. To help my models look their best I told them to bring their foreheads down and out. This made their jawlines more prominent and is very flattering.
After making sure my models were comfortable I took photos, only shooting from the shoulders, up. I told them to make an assortment of happy, serious and fun faces. After getting a few god ones with the 90% angle from my light source, I moved my light to a 45% angle, creating the Rembrandt lighting effect. After getting some shots like that I moved to a 25% angle, creating Loop lighting. Last but not least is the Butterfly lighting with the light directly in front of the subject.
Here are my favorite photos. Enjoy!
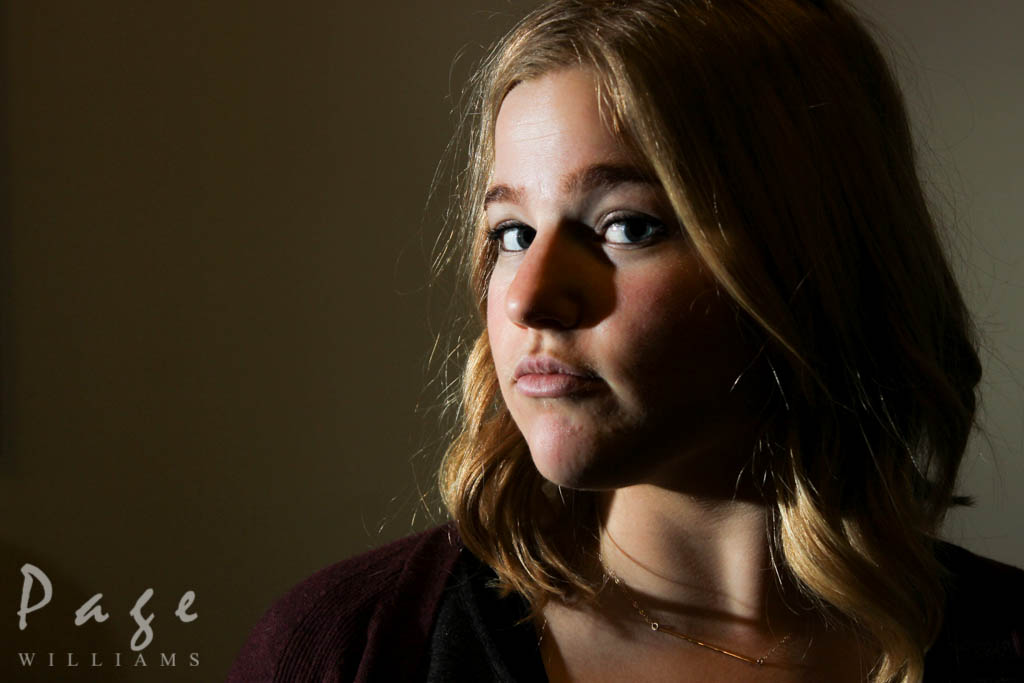
Loop Lighting

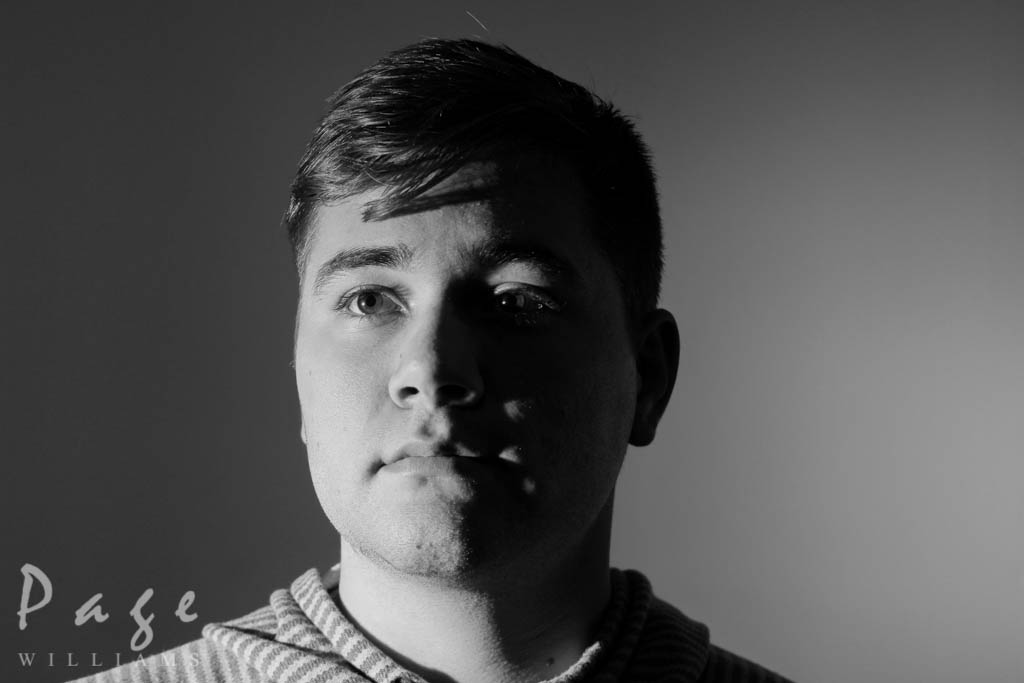
Rembrandt Lighting
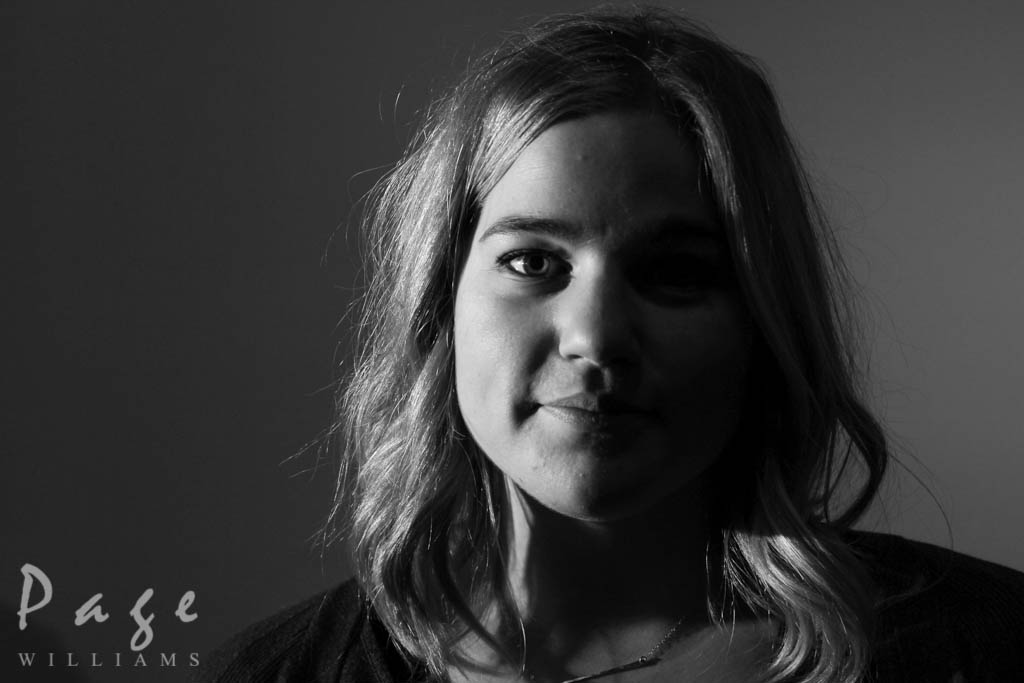
Split Lighting
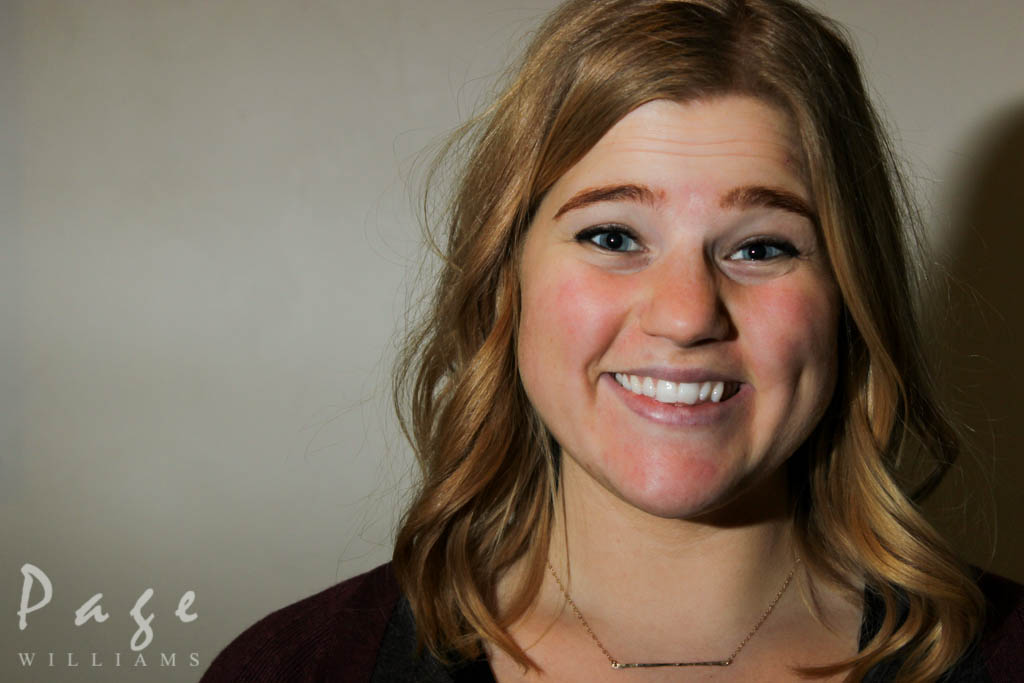
Here is one of my favorites from the shoot:
I got some great head shot tips from the incredible Peter Hurley. Check out his website at https://peterhurley.com/.