The Concept
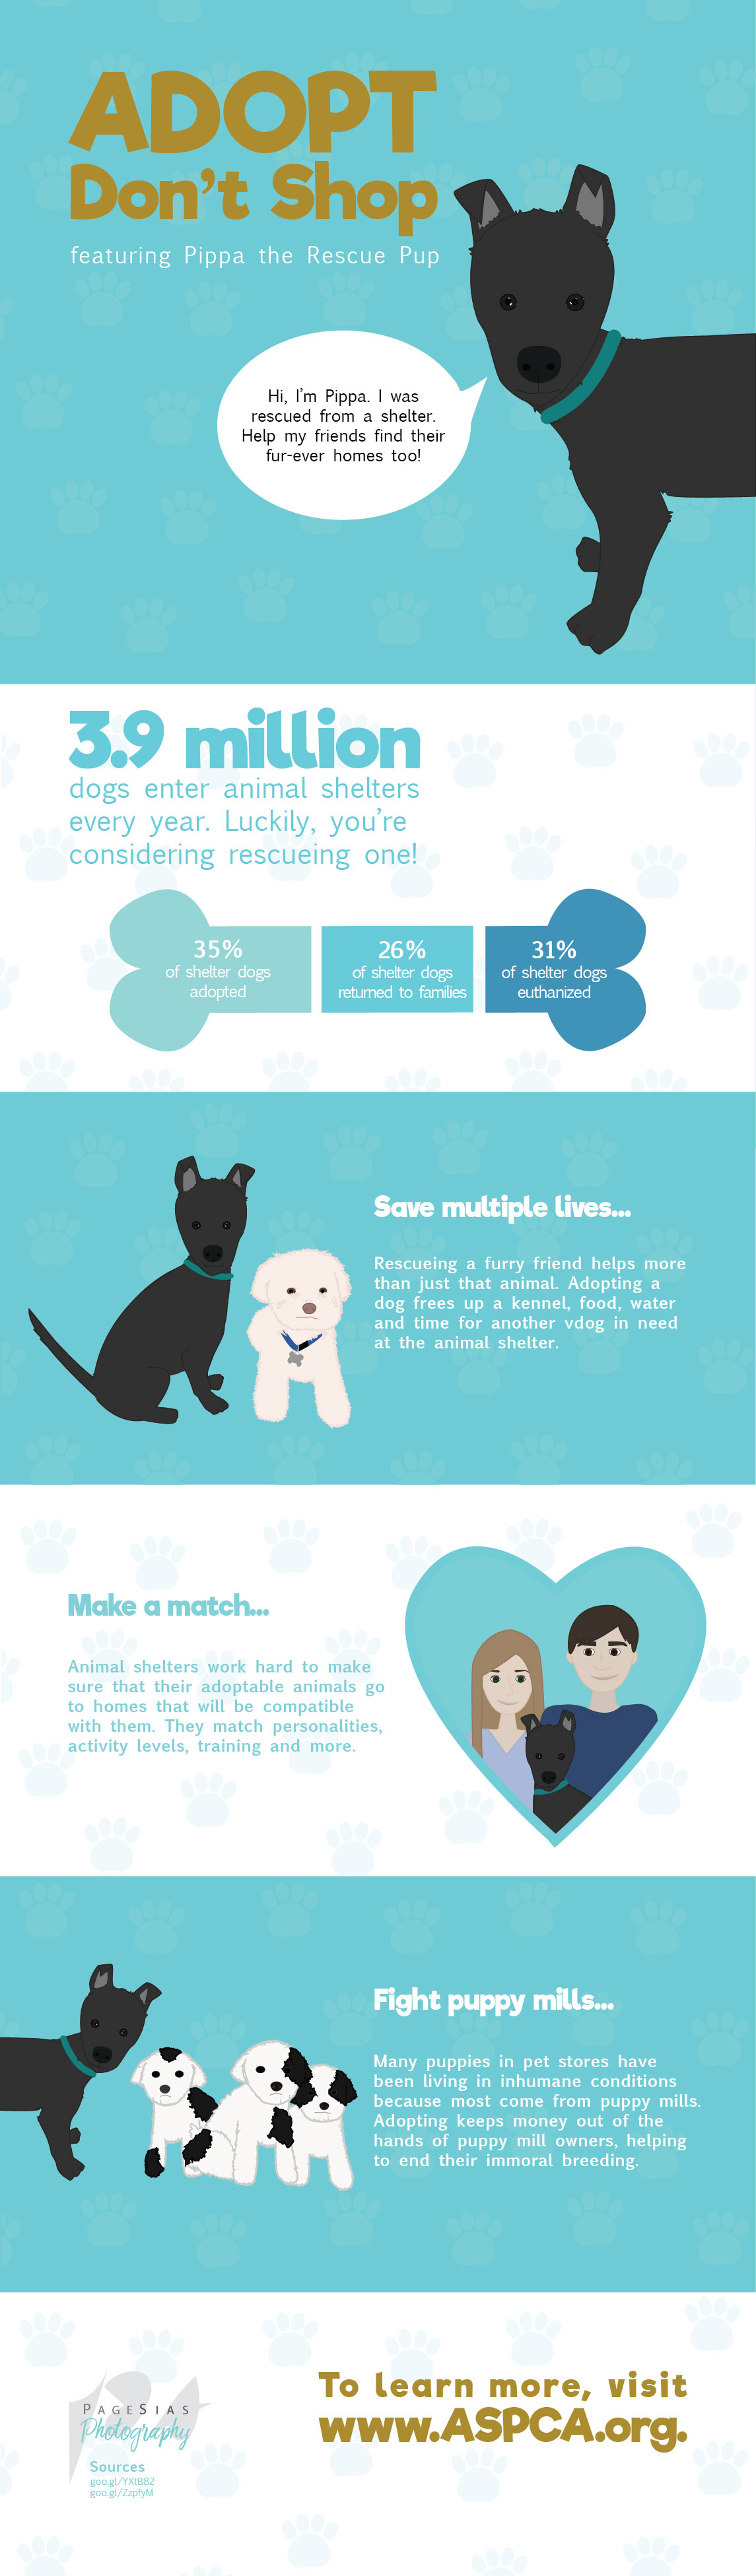
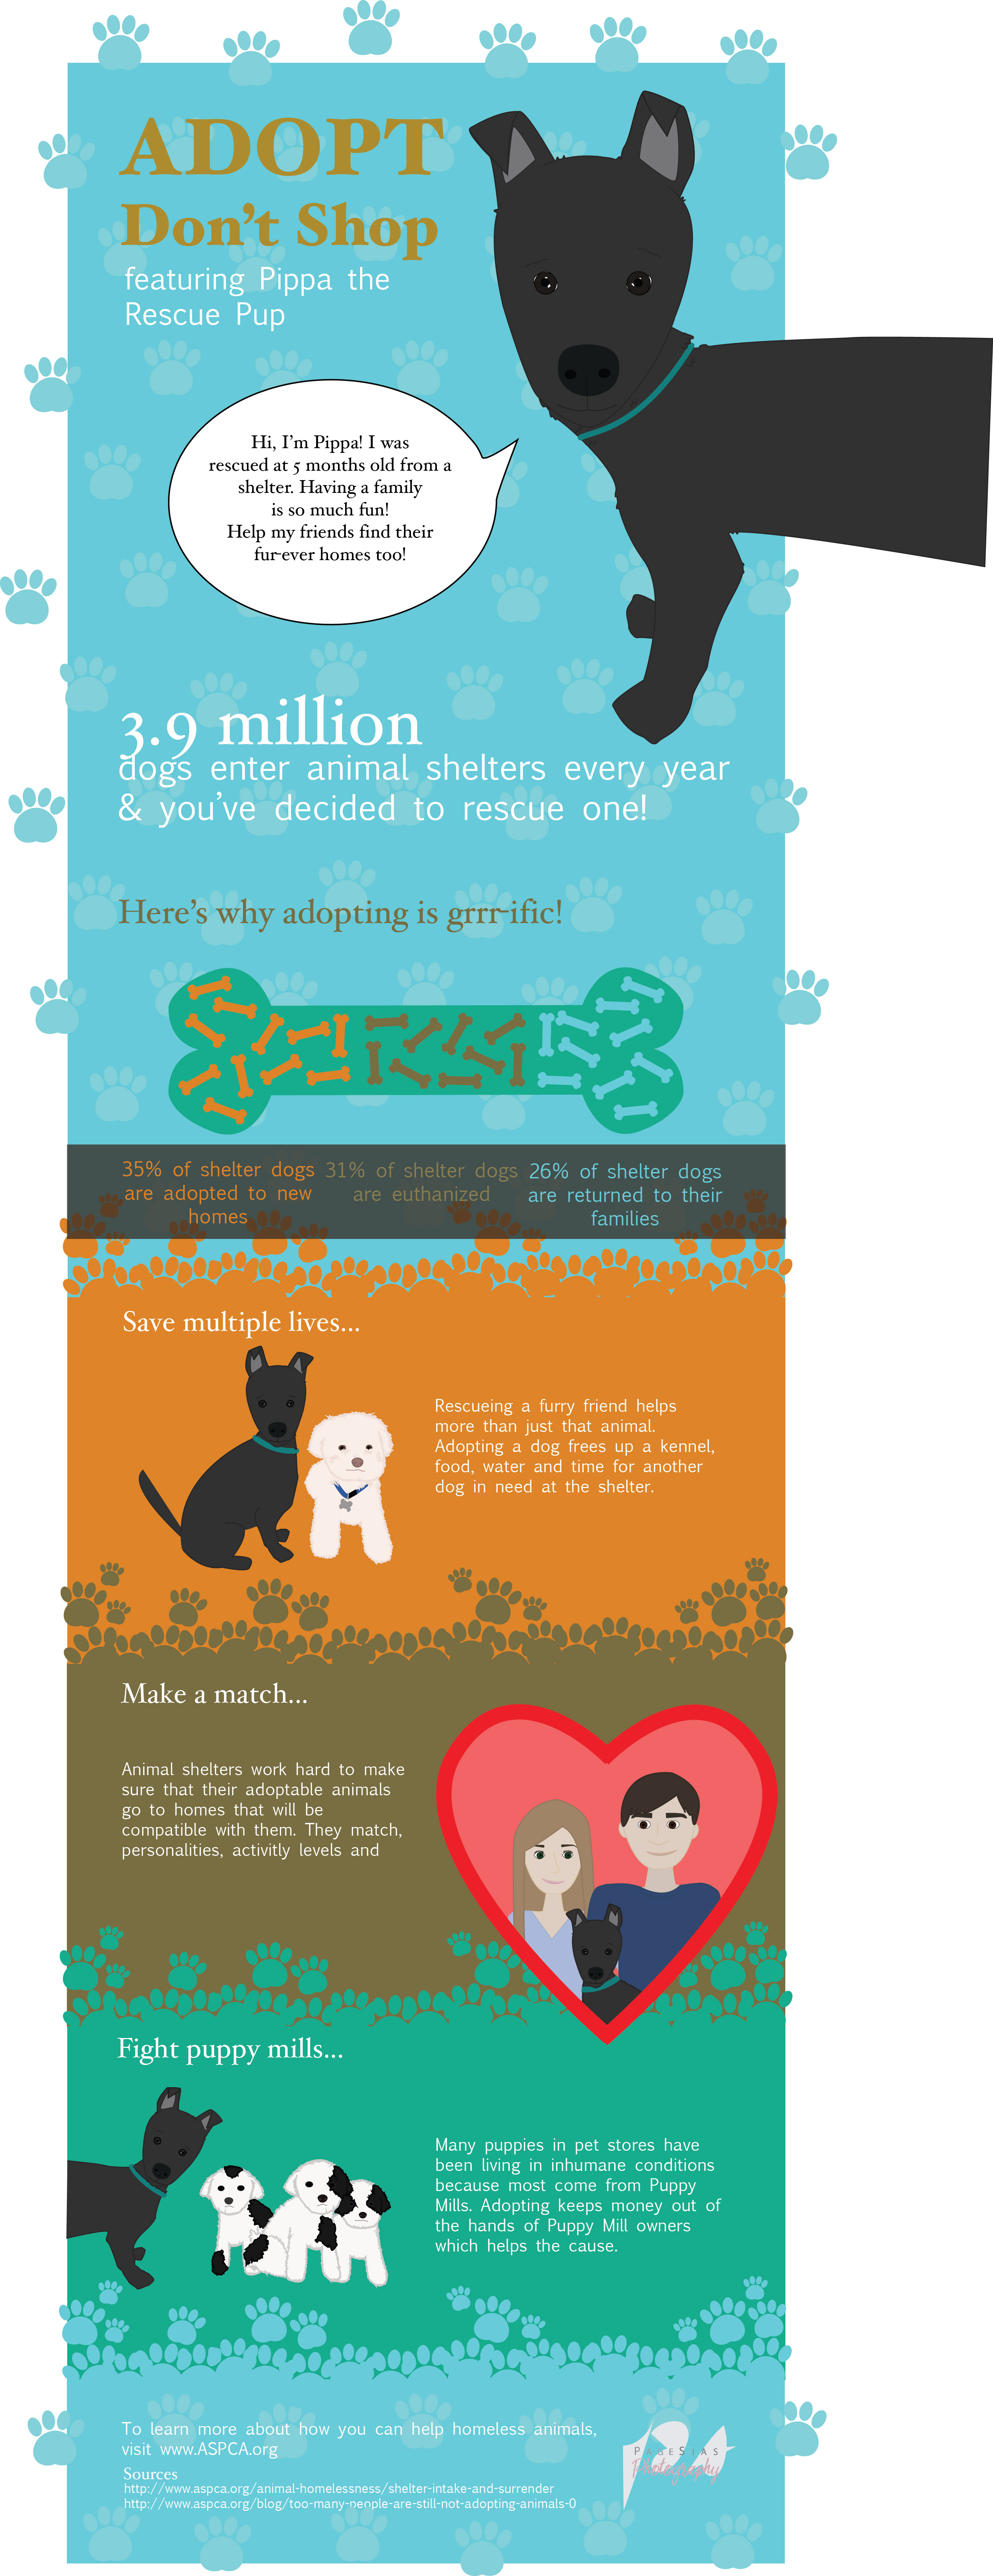
A couple of weeks ago my husband and I adopted a shelter dog. Her name is Pippa and she’s a sassy, stubborn sweetheart. Not only that but she’s a handful who occupies the majority of my time. So when I started an infographic project I knew exactly what the theme would be.
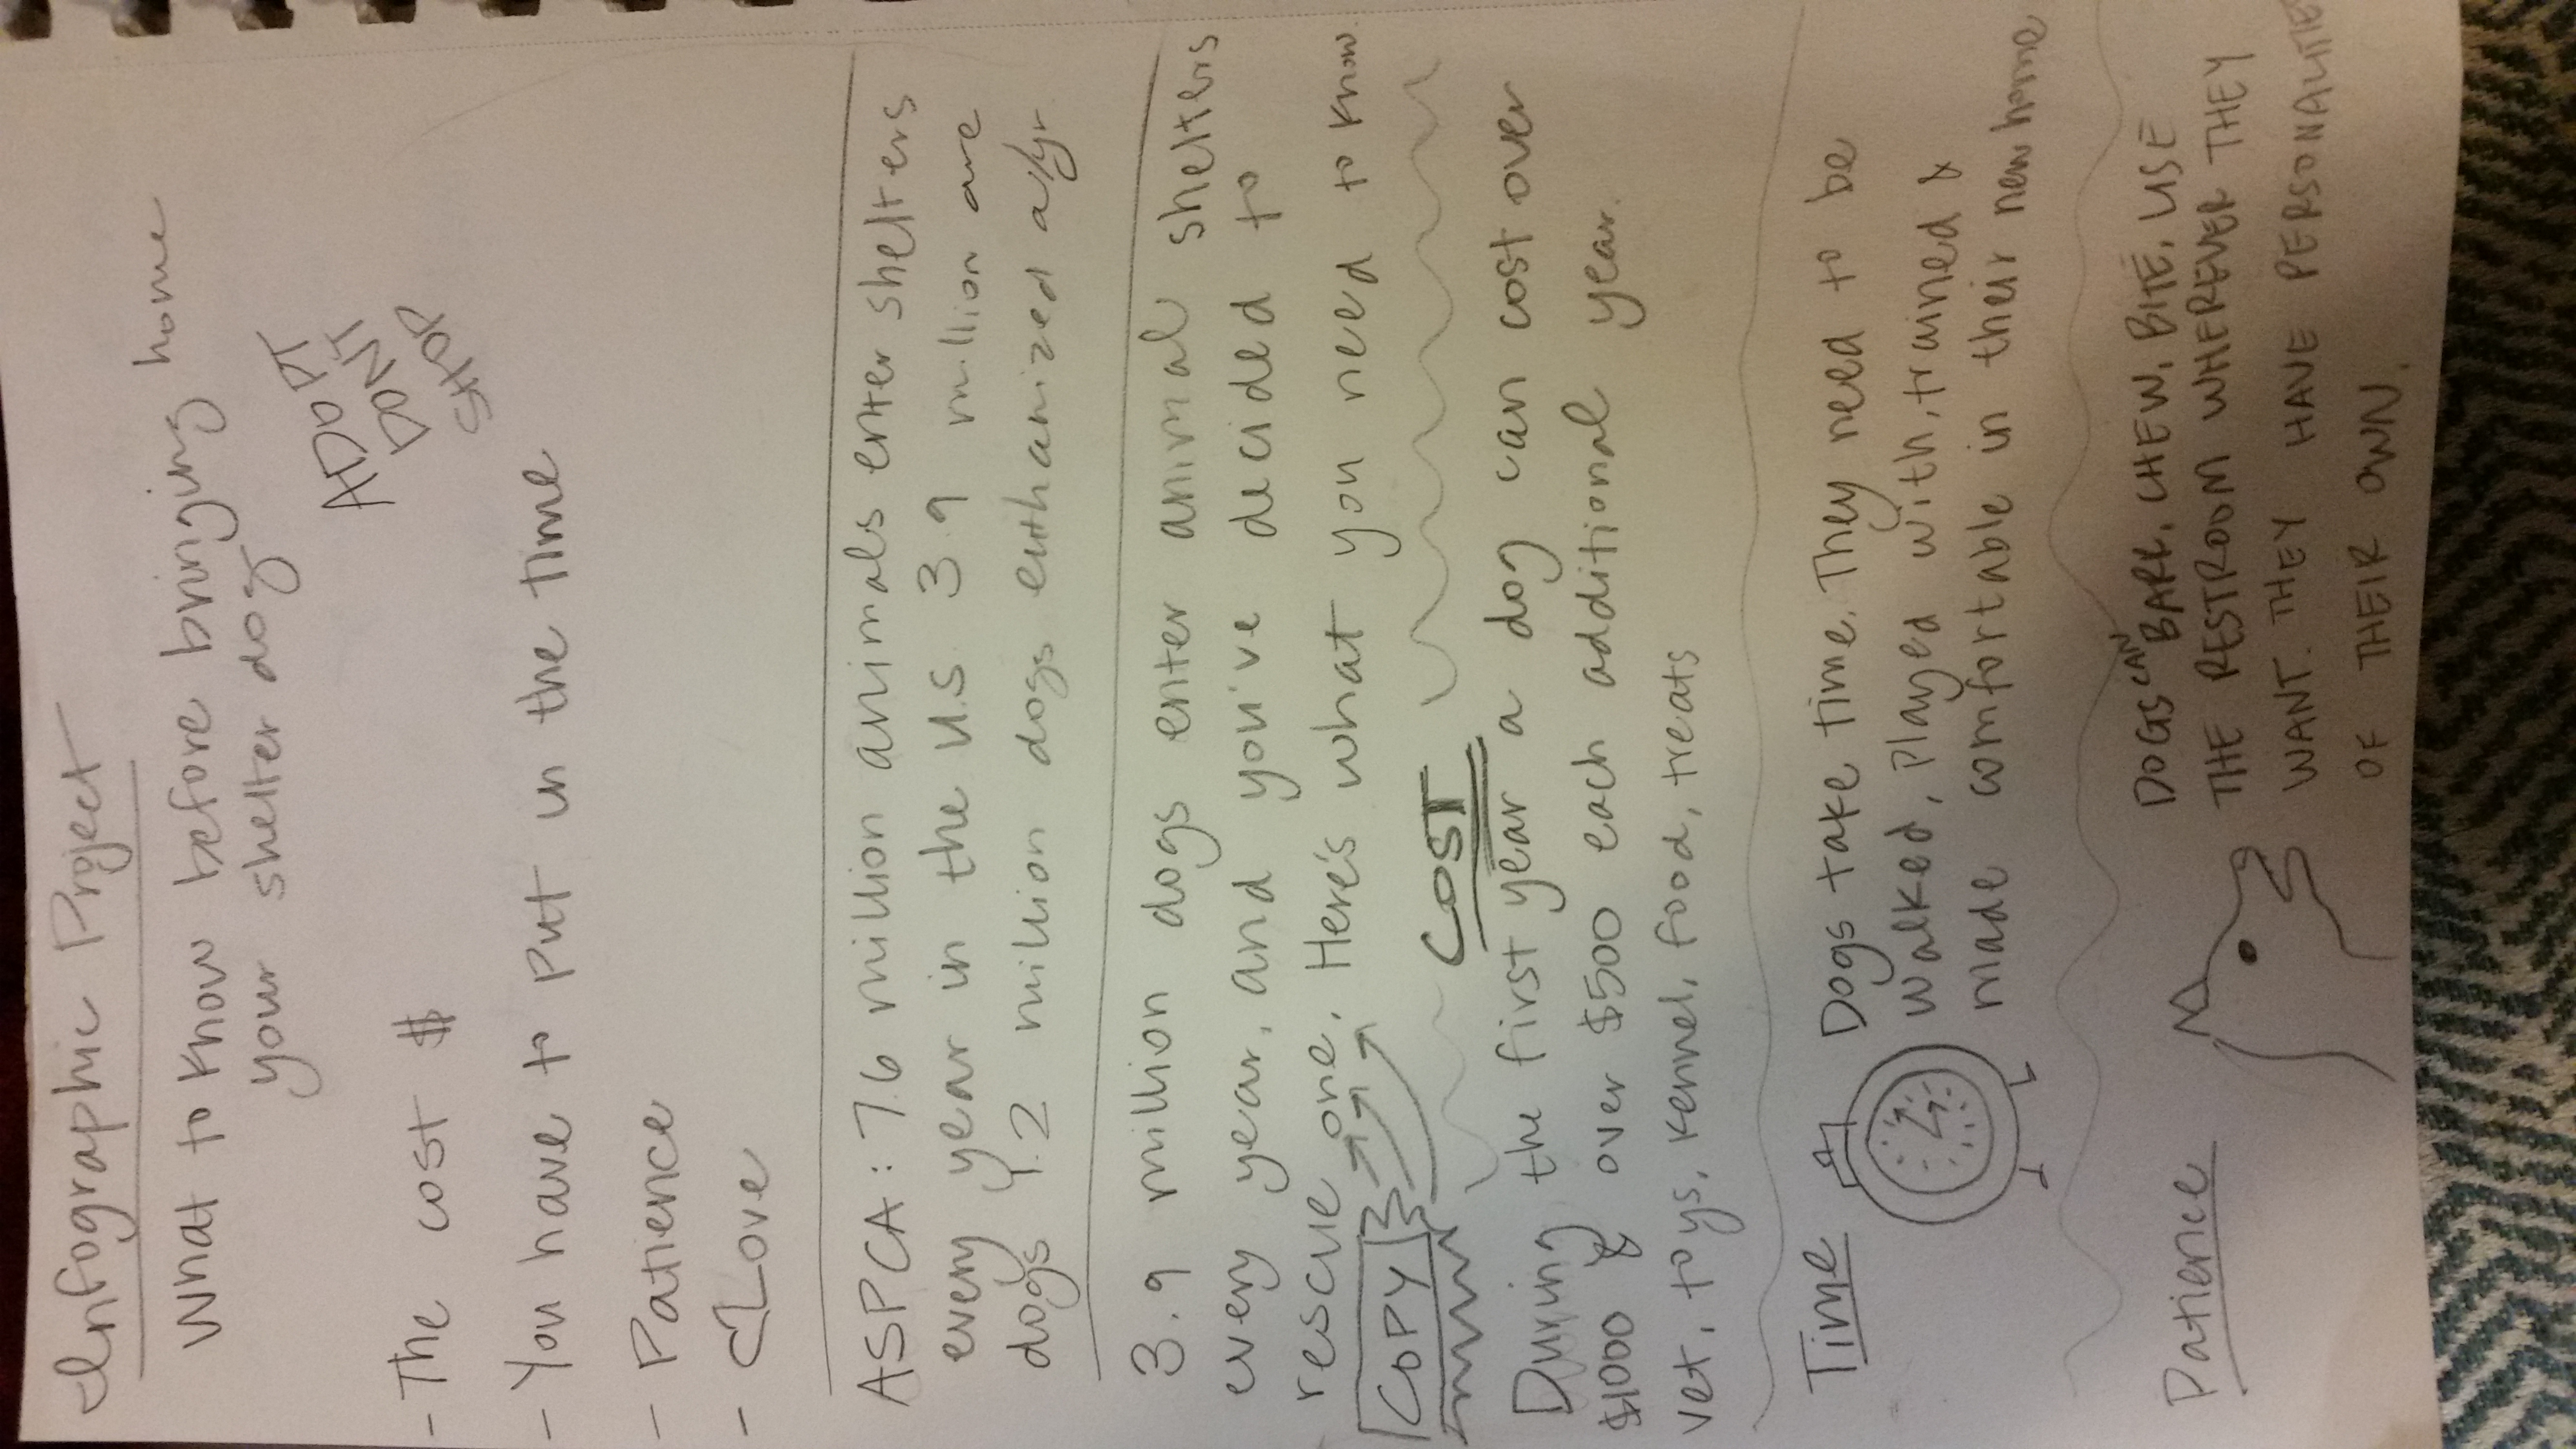
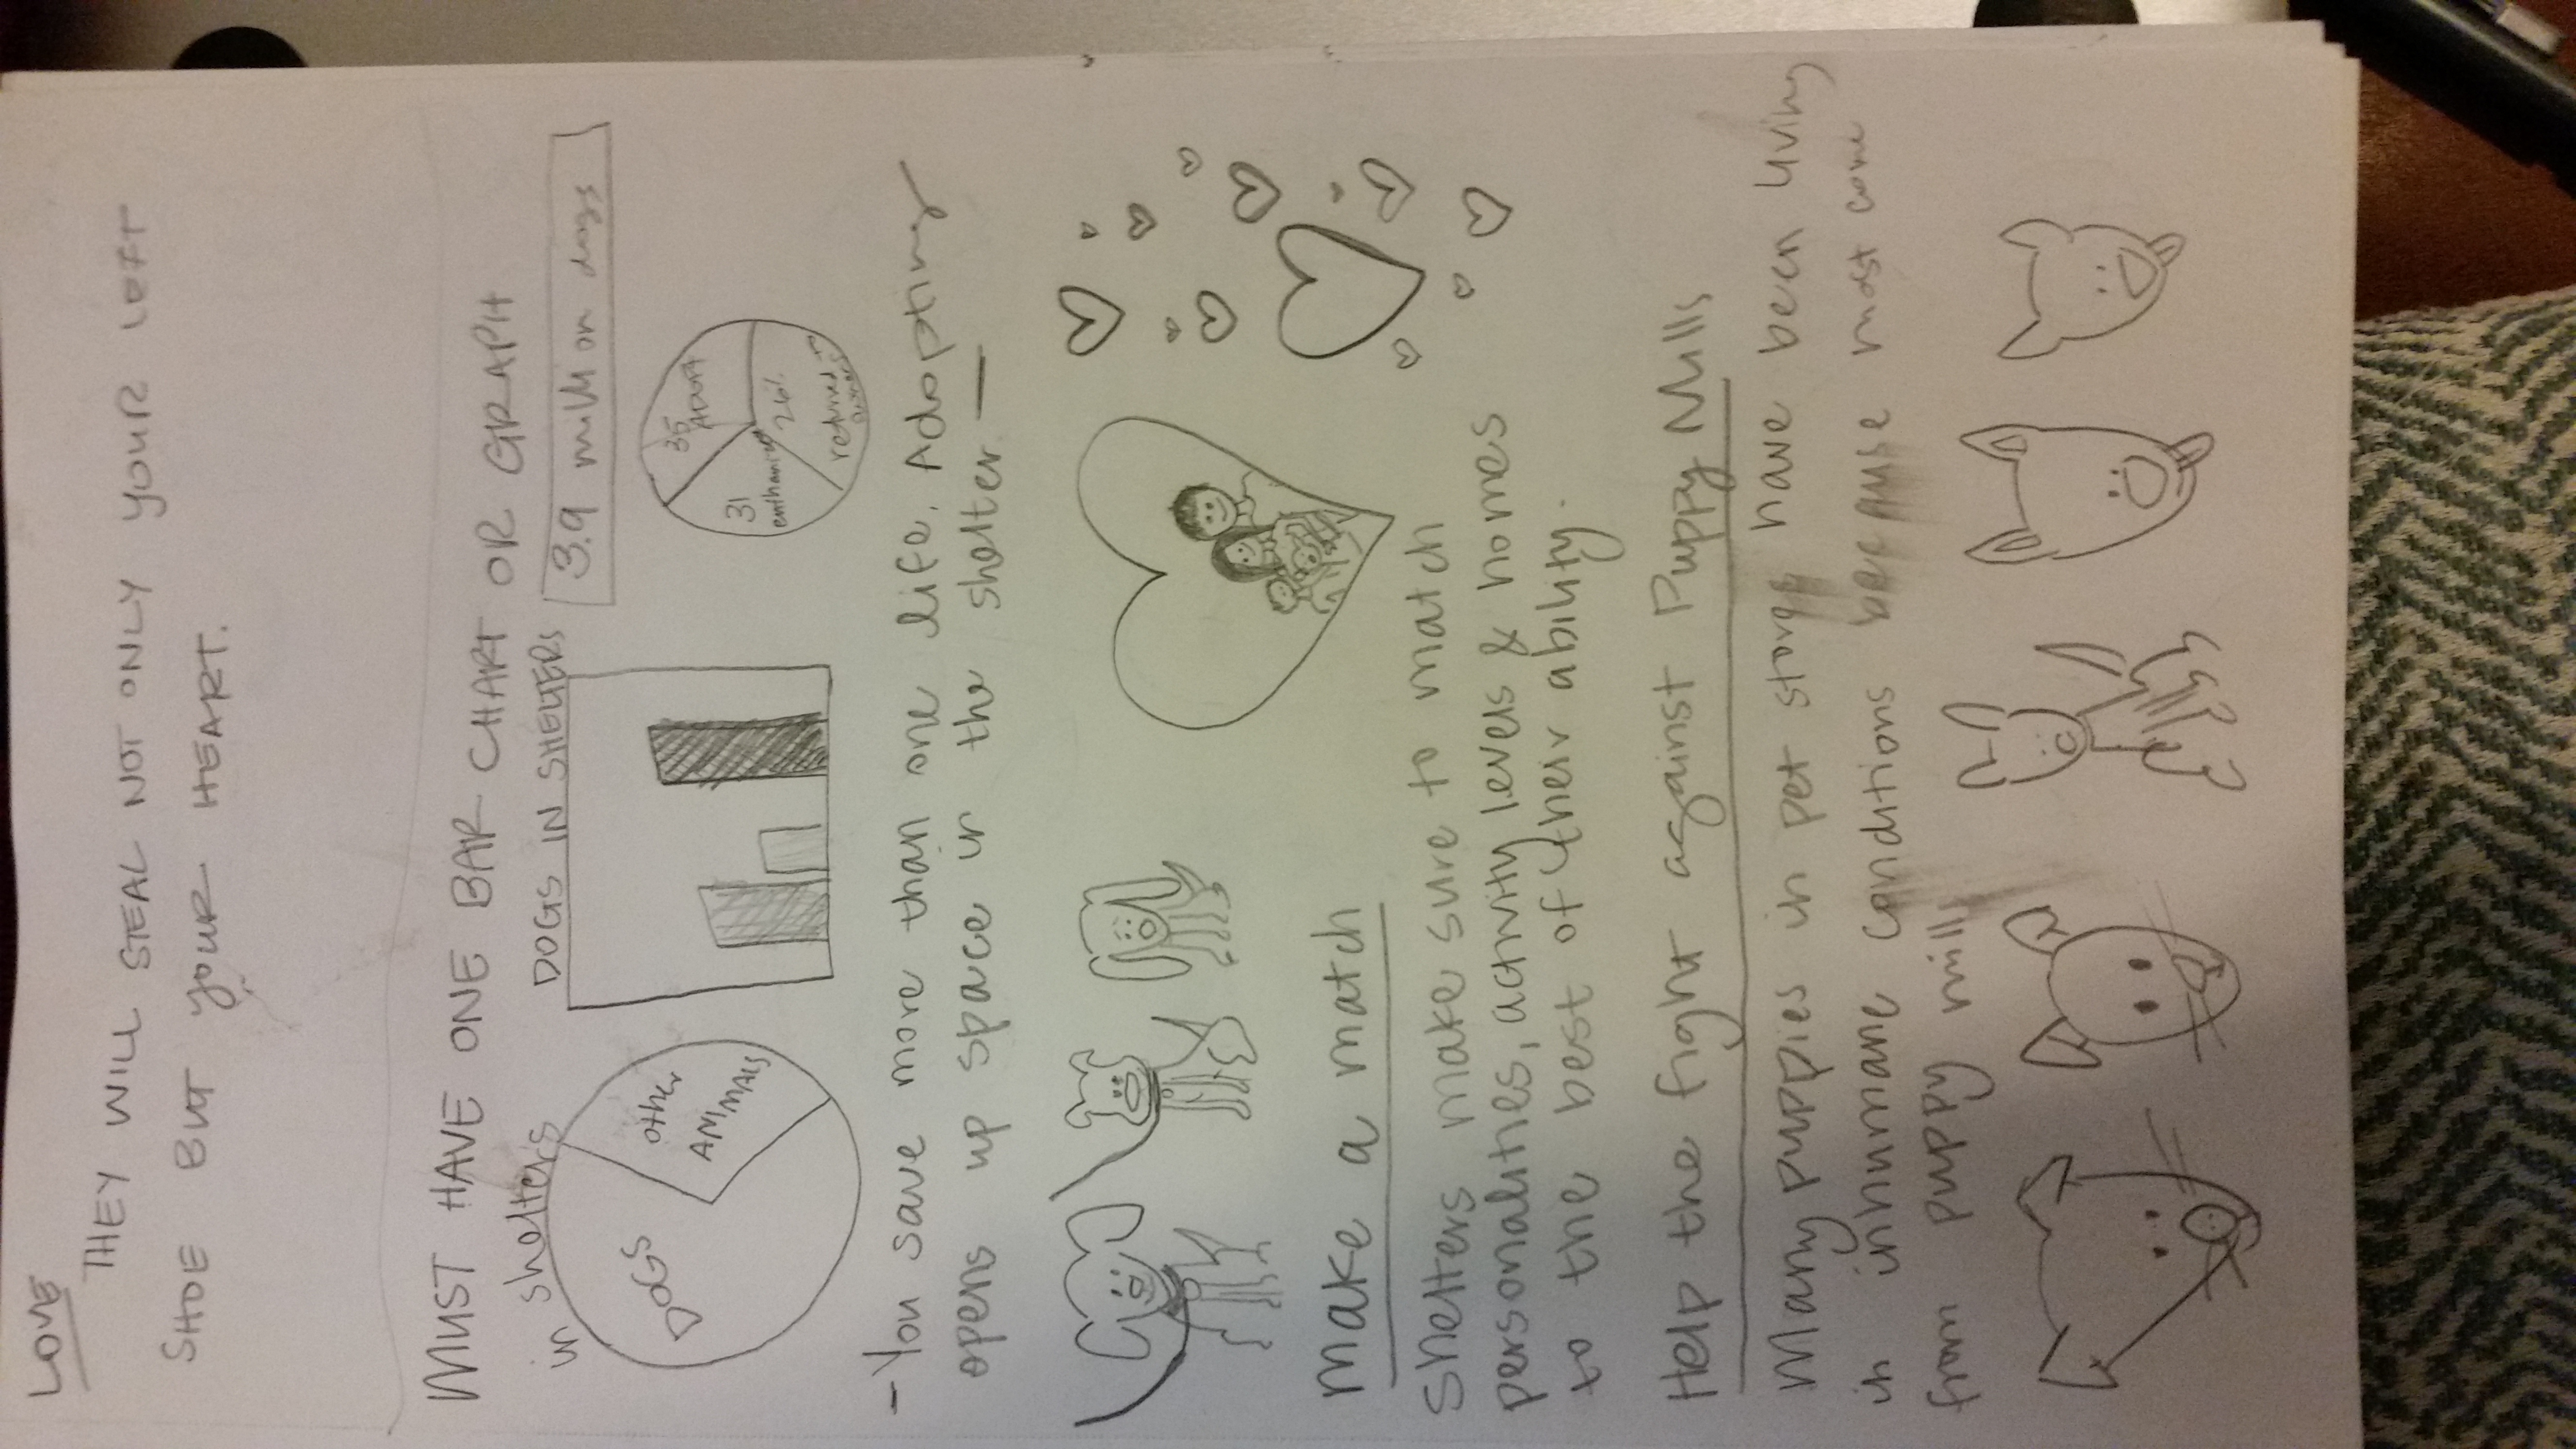
My requirements were to make a visually appealing infographic using at least 3 vector graphics that could be uploaded to Pinterest. The topic of course, was shelter dogs. My first thought was to focus on “what you need to know before bringing home your shelter dog” but after looking through sources, I realized the more important topic way WHY adopt a shelter dog. There are so many benefits that people don’t know about.
Sketching
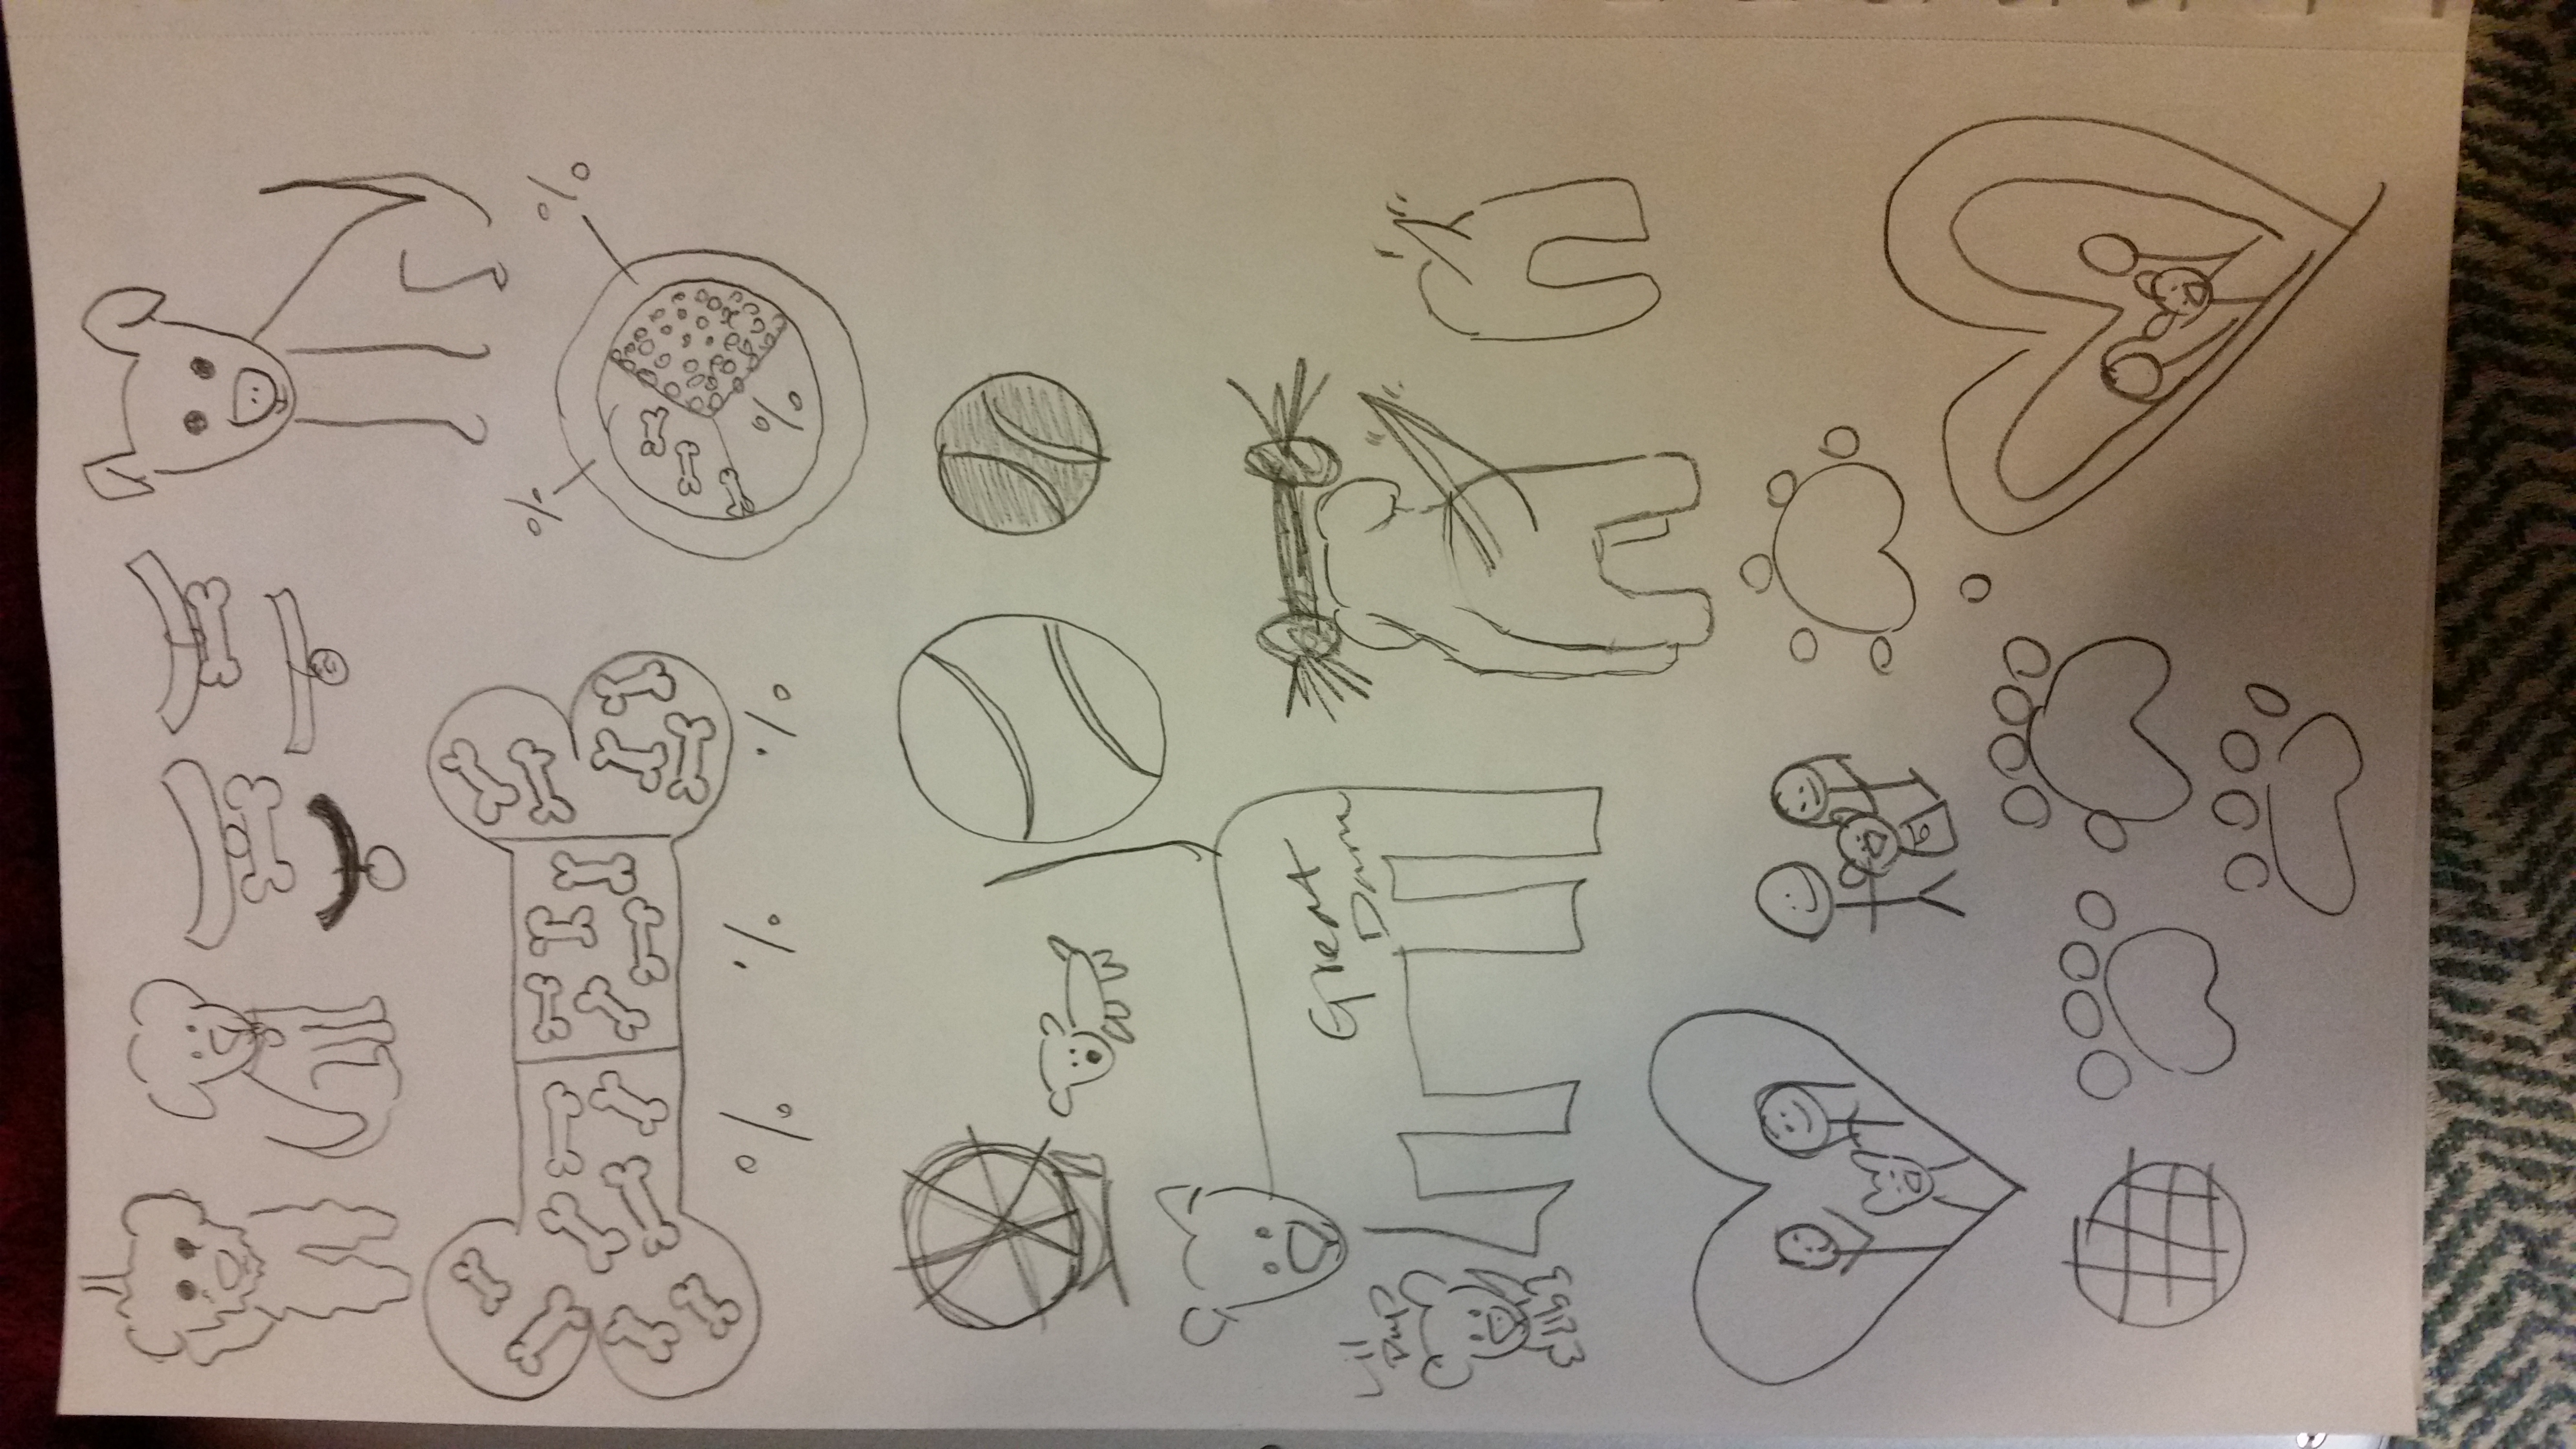
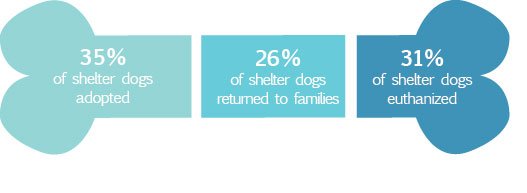
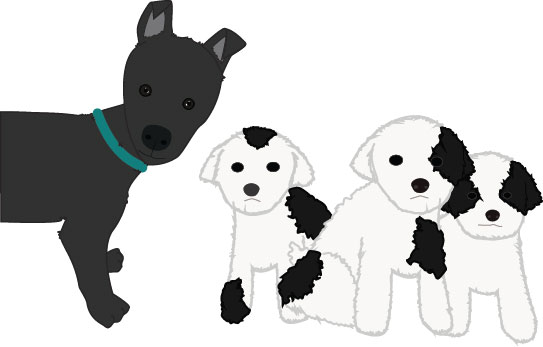
Once I completed my research I started sketching. I began with writing up the details that I wanted to include in my infographic, hoping that if I focused on those I might get a few sketches that would translate well. I drew up the percentages I would be showing in charts and tried to think of ways to make that look interesting. Then came the dog, bone, toy, and collar sketches. All of the things that make me think “dog”. I looked at my titles and sketched out ideas to be used in each of them, leading me to the family in a heart and the puppies for the puppy mill.
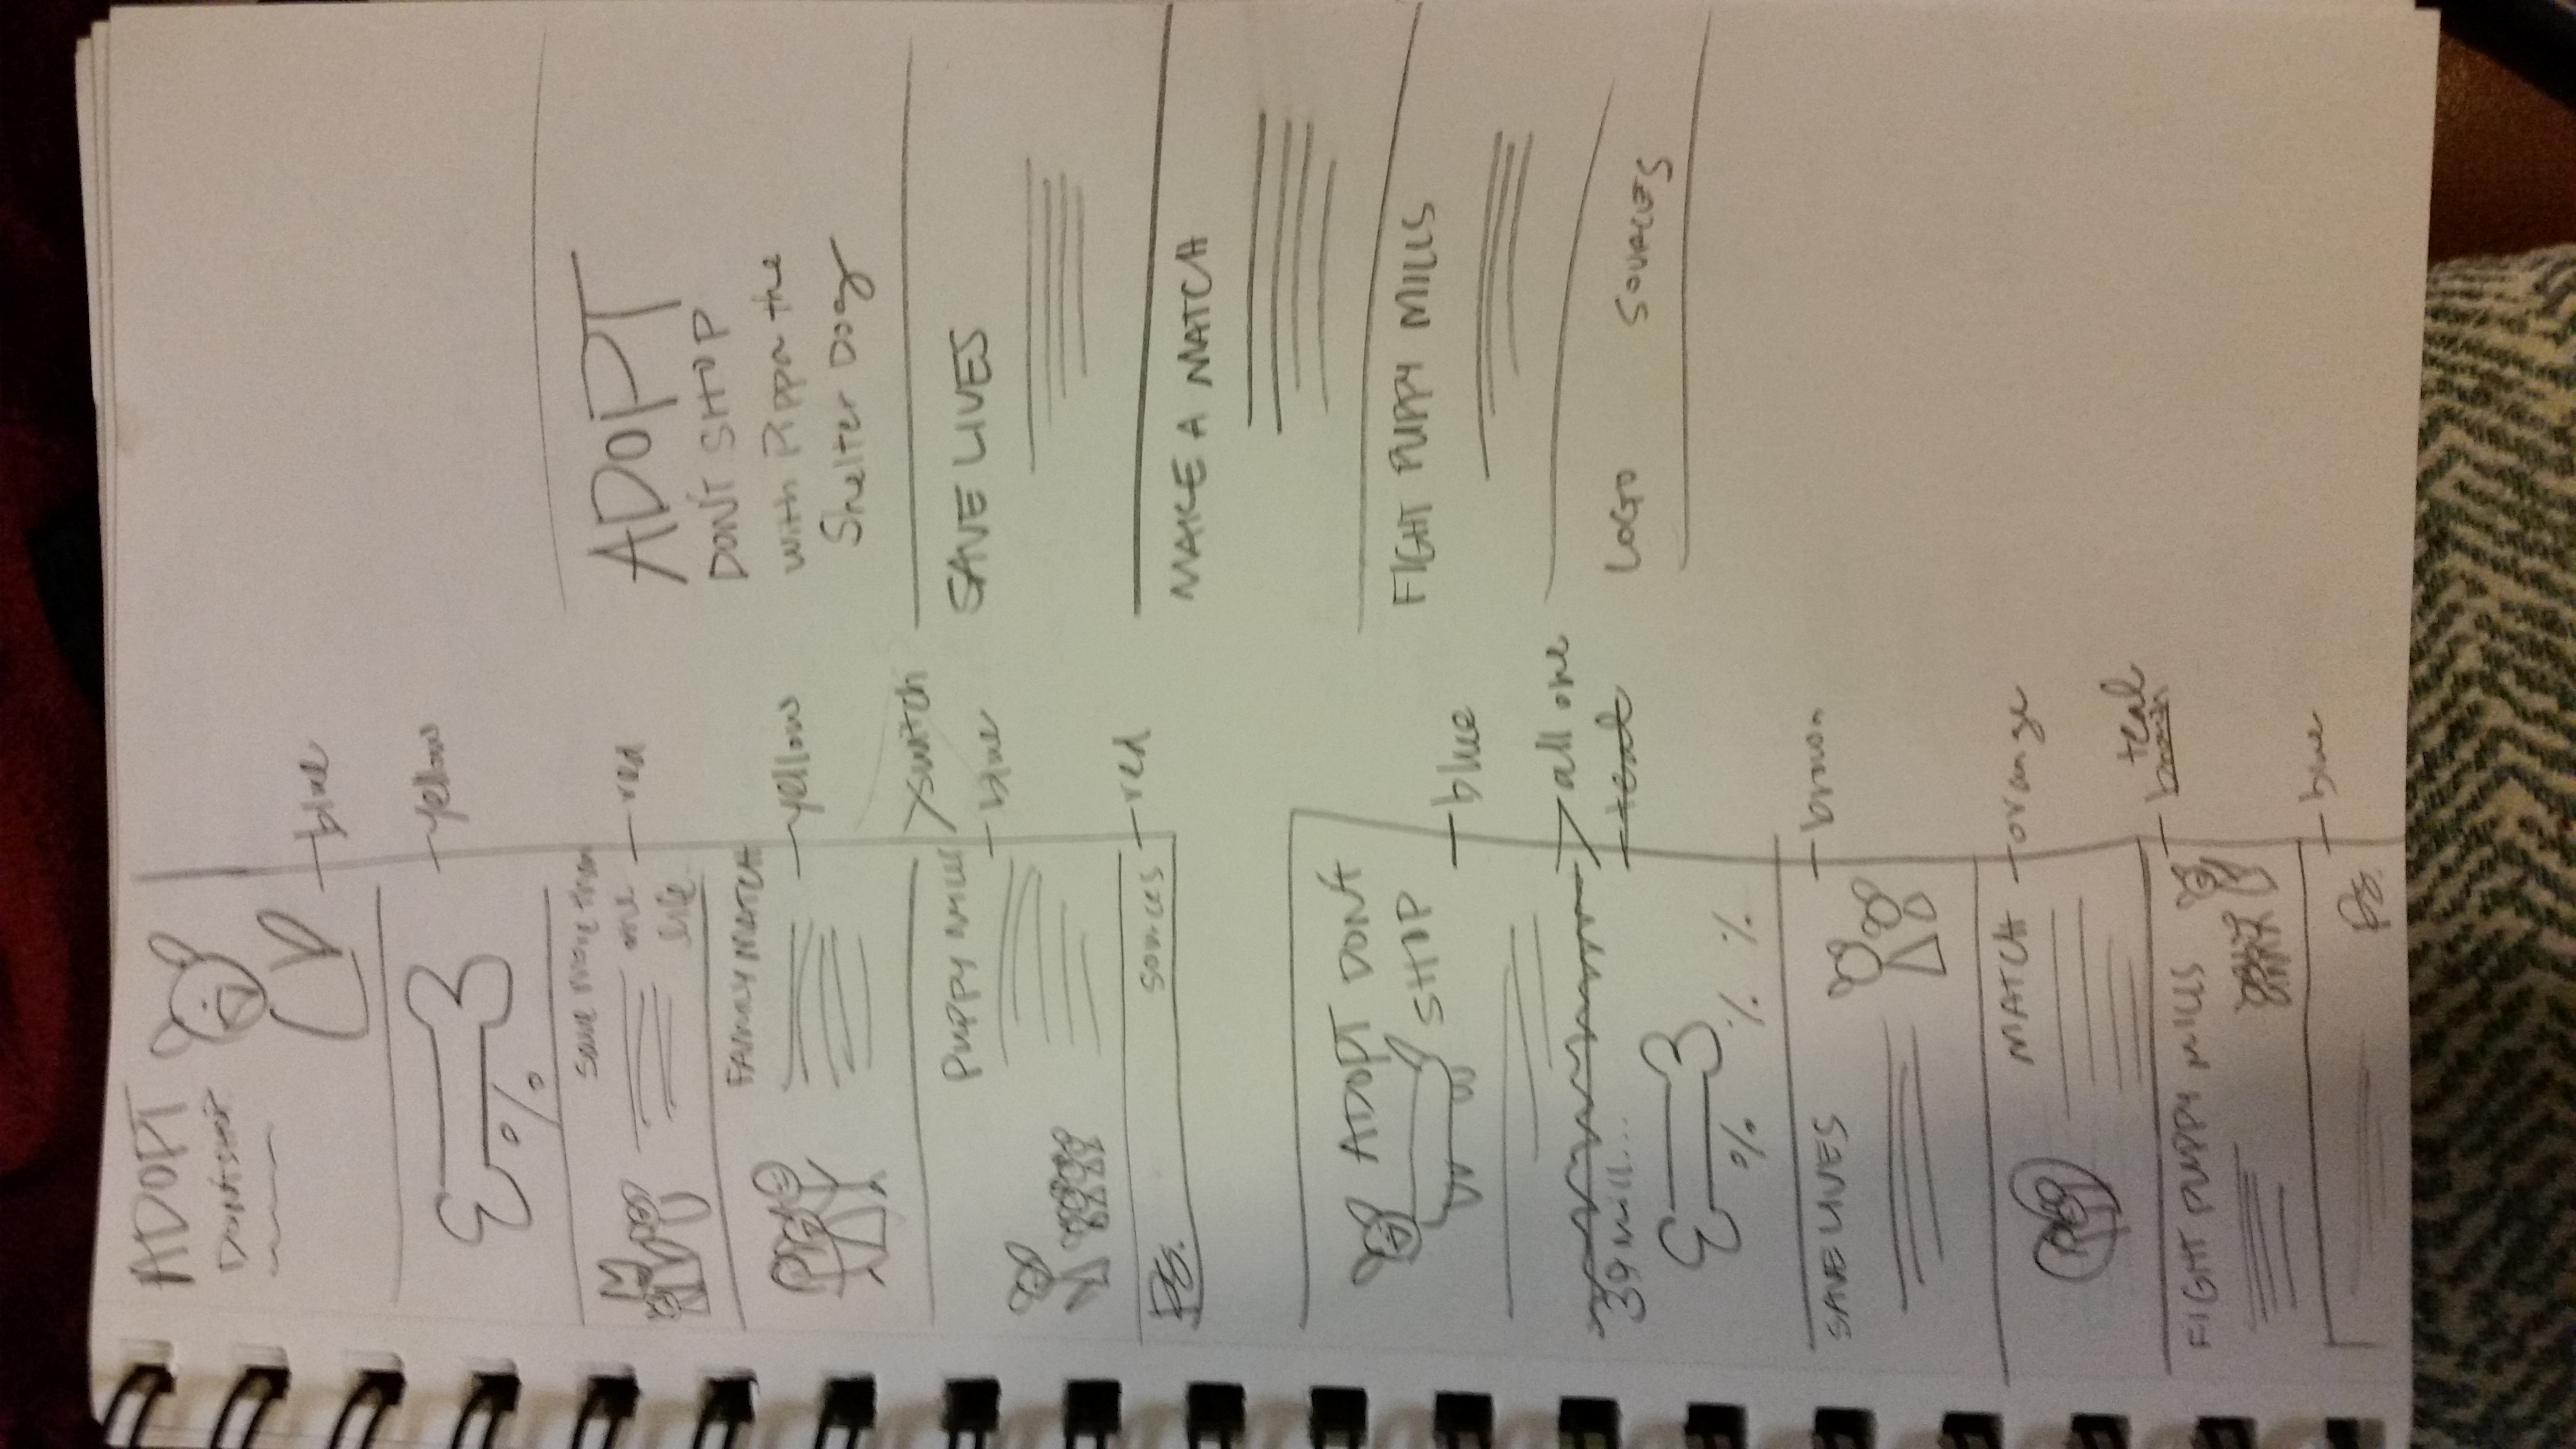
Last came the sketches of my layout for the actual infographic. After a couple of simple but varied sketches I felt ready to go.
Creation
Issues
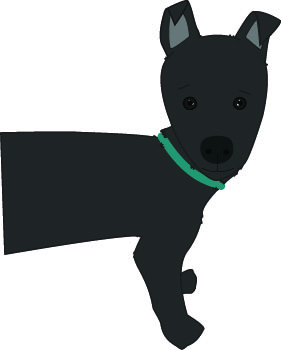
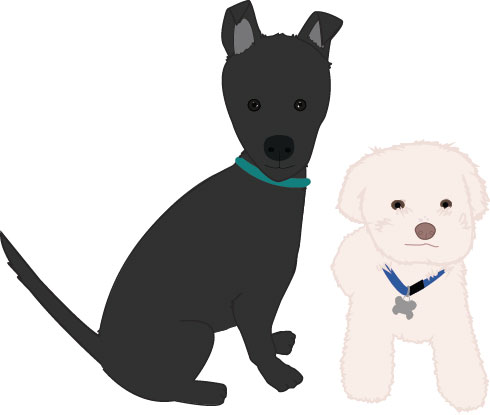
The actual creation of the vectors was the hardest part for me. I’m learning as I go unfortunately, but I’m a quick learner. I started off creating a graphic of Pippa. In hindsight that probably wasn’t the smartest thing considering that that was one of the more difficult vectors I made. My first attempt wasn’t great. She looked more like an alien or a rat than a dog.
Losing the Funk

I’d tried many different things to try to get her looking more like a dog and less like a rat. So when hours later, she still looked super weird, I asked for some advice. My husband sweetly told me what he thought I could change: give her fur, outline certain parts, add shadow, give her a neck…
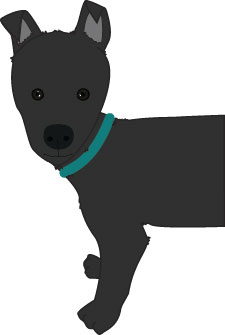
All of his suggestions helped a ton! In the end I had a shaggy looking dog who looked nothing like my Pippa but at least looked like a dog. So I started over from the beginning. I made everything more basic and simple and low and behold Pippa began to take form. In the end I had a decent graphic of my little black lab. Of course that wasn’t the actual end, only the end of Pippa 2.0. I had even more editing to go before I ended up with my third edit (2nd edit on left, 3rd on right).
Putting it all together
The other dog graphics were simple compared to her and so was everything else. Putting my information into the graphic was easy. I knew immediately that I wanted Pippa to be a reoccurring character throughout the infographic, so I knew I would need separate sections. I used color blocks to do that. My color choice changed constantly… I started out with a red, blue and yellow scheme that I didn’t like very much. Then I moved on to a busy version that looked like the image below -please excuse the extra.
 I realized that this was crazy busy. So I went back into Adobe Illustrator, the only software I used for this project and tweaked somethings. I immediately took out my paw prints. They were just adding too much to the infographic.
Next I switched my color scheme to something a lot simpler. Blue and white go nicely together so I decided to focus on those together with just the brownish gold for an accent. I switched the color of my heart to fit the color scheme, made my bone graph into color blocks and create two new sections to make it all look cohesive. I ended up with a much better looking infographic that I’m proud of.
I created everything on the infographic besides the information. That all came from www.ASPCA.org.
The Graphics

Put it all together and I had created my first infographic! Let me know what you think in the comments below.